My bedroom felt like one big, shared studio for months. My bed sat in the open and the room lacked privacy and flow. I solved it with curtain room dividers—no drilling, no carpentry—and spent about $180 on hardware and textiles. Now the sleeping area reads as its own private nook. People ask if I renovated.
This guide focuses on relaxed modern style with warm neutrals and natural texture. Budget is realistic: $150–$500 depending on what you already own. Works best in small bedrooms or studio layouts. The current trend I followed is soft, ceiling-to-floor linen panels and no-drill tension systems for flexibility.
What You'll Need for This Look
Foundation pieces:
- 8×10 jute area rug in natural (~$120-180)
- Linen curtains in white, 96-inch length (per panel) (~$35-50 per panel; plan 2-4 panels)
Curtain divider hardware (no drilling):
- Heavy-duty tension curtain rod 6-10 ft, spring load (~$25-45)
- Adjustable ceiling tension pole, 8 ft (~$40-70)
- Adhesive ceiling hooks (Command brand alternative) (~$10-18 per pack) — for very light rods only
Textiles & layers:
- Linen duvet cover in sage green, queen (~$70-110)
- Chunky cable knit throw in oatmeal, 50×60 (~$40-60)
- Euro pillow inserts, 26×26, set of 2 (~$35-50)
Lighting & finishing touches:
- Rattan pendant light, 15-inch diameter (~$60-90)
- Table lamp with linen shade, 16-inch (~$45-70)
- Artificial olive tree in cement pot, 4-5 feet (~$70-110)
- Woven storage baskets, set of 3 (~$35-55)
Budget-friendly swaps:
- Instead of true linen, try linen-look blend curtains, 96-inch (~$18-30 per panel)
Start with the foundation: rug and curtains
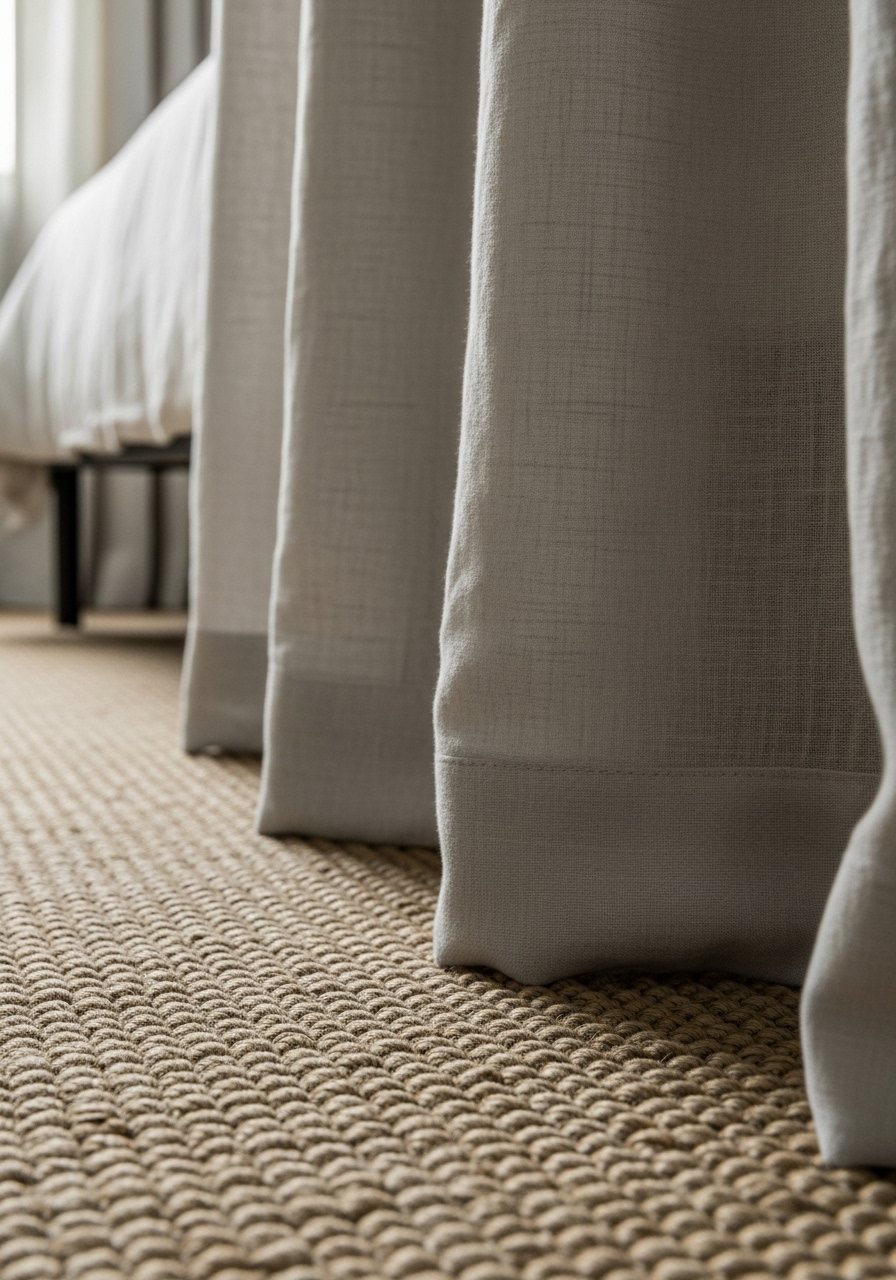
The rug and curtains set the mood. I used an 8×10 jute rug in my 10×12 bedroom so the front legs of the bed and nightstand sit on it. That anchors the sleeping area and makes the divider feel intentional.
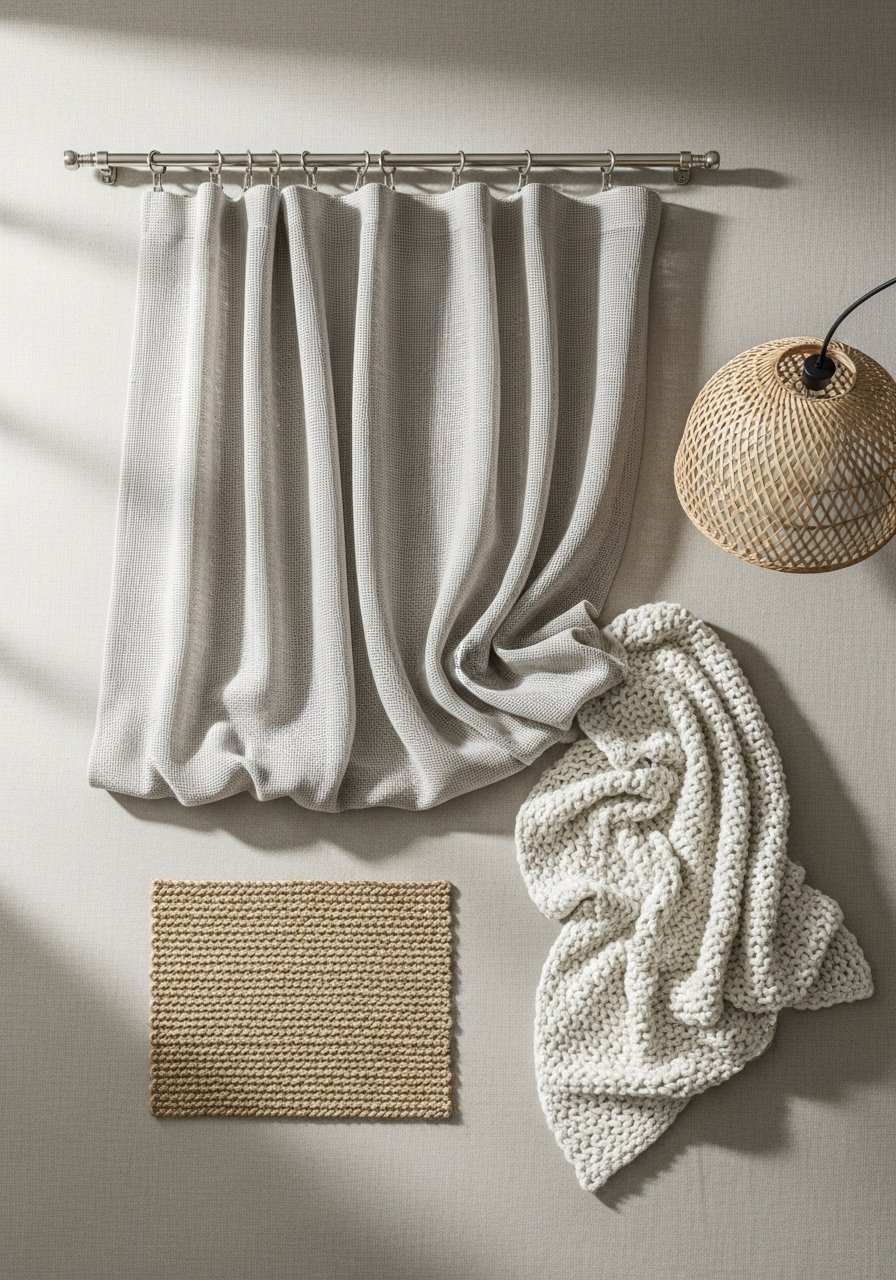
For curtains, I hung white linen 96-inch panels from a tension rod mounted just below the ceiling line. Hanging high elongates the wall visually. Let the panels kiss the floor or puddle 1–2 inches if you want softness. The visual rule I follow: curtain length should be close to ceiling height minus 1–2 inches for a clean drape.
Mistake I made: I first chose dark patterned panels. They closed off light and made the room feel smaller. I swapped to sheer linen-look panels and the space opened up.
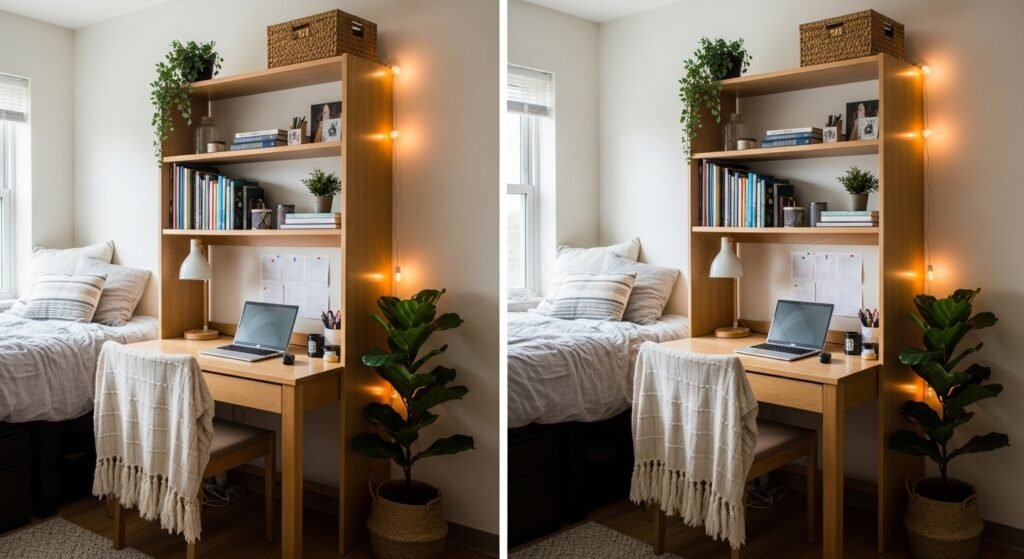
Layer in softness with oversized textiles

Next comes bedding and pillows. I used a linen duvet in sage, queen size and two 26×26 euro pillows behind standard pillows. The euros create height behind the bed and make the curtain divider read like a backdrop.
Layer a chunky cable knit throw in oatmeal at the foot for texture contrast. Visual principle: combine one natural fiber (jute rug), one soft weave (linen), and one textured knit. Keep colors in a 3-tone palette—white, sage, oatmeal—to avoid clutter.
Placement tip: pillows should fill roughly one-third of the bed height when propped. Too many small pillows dilute the look. I tried six decorative cushions once; it looked busy and impractical. Now I stick to 3–4 layered pieces.
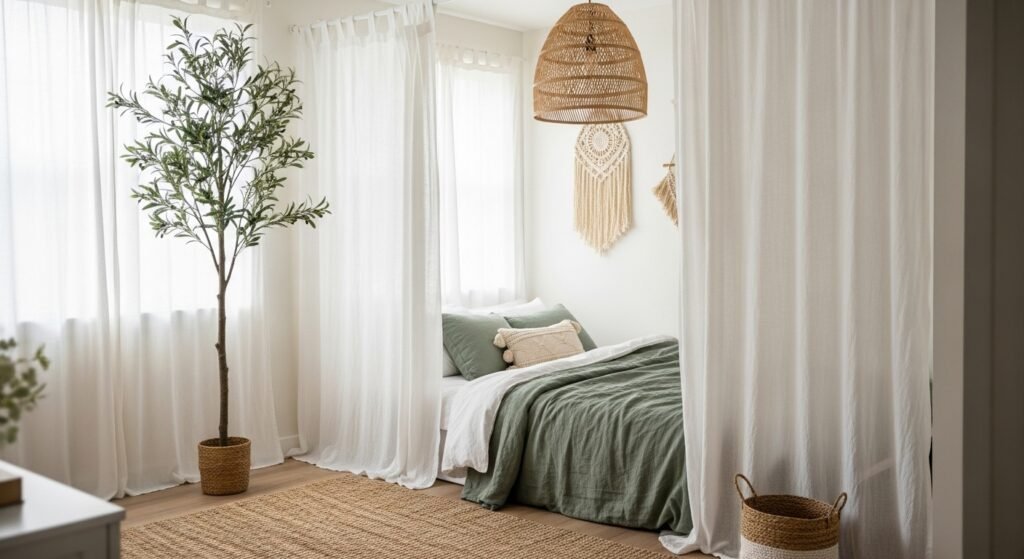
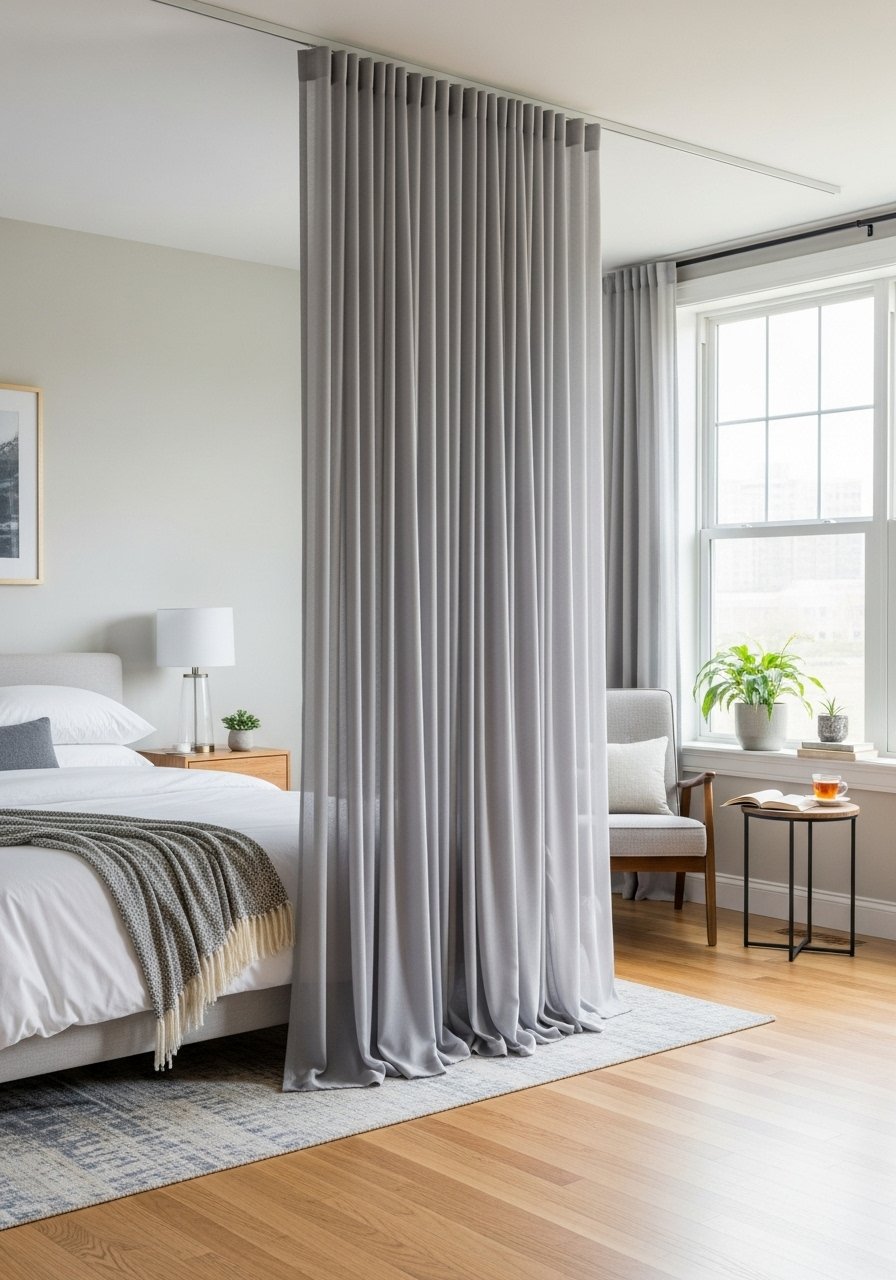
Divide the space without drilling: curtain room dividers that look built-in
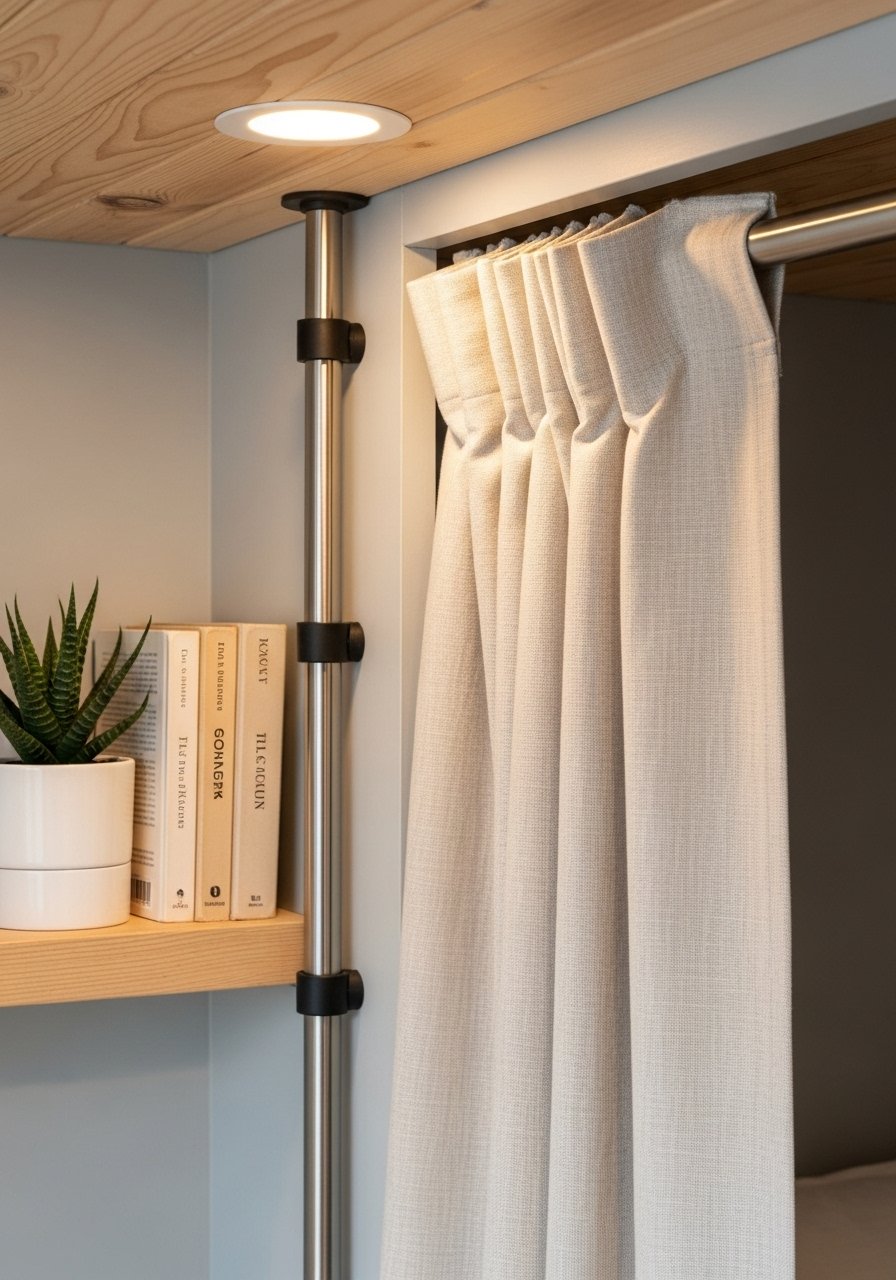
The key to no-drill curtain room dividers is choosing the right no-drill hardware. I used a heavy-duty tension curtain rod 6-10 ft for a straight divider across the room. For an L-shaped or partial canopy, an adjustable ceiling tension pole, 8 ft worked well.
If you have very smooth ceilings and light fabric, adhesive ceiling hooks can hold a lightweight rod. Never rely on adhesive for heavy panels. Scale matters: for a 10-foot span, use two tension rods side-by-side or a continuous rod rated for that width.
Visual rule: keep the divider about 4–6 inches from the bed edge to allow a walkway. Too close and the room feels cramped; too far and the divider lacks purpose. I recommend pairing the divider with a low-profile bedside lamp like a table lamp with linen shade to reinforce the nook feel.
Common Styling Mistakes to Avoid
Mistake: Choosing a rod that sags under weight
Why it doesn't work: Panels drape unevenly and look cheap.
Do this instead: Use a heavy-duty tension curtain rod rated for your span.
Mistake: Blocking natural light with opaque panels
Why it doesn't work: The room becomes dark and smaller.
Do this instead: Use white linen or linen-blend panels so the divider defines space but keeps light.
Mistake: All decor at the same height
Why it doesn't work: The eye has nowhere to rest.
Do this instead: Vary heights with a rattan pendant above and a tall artificial olive tree at floor level.
Shopping Guide: Where to Find These Items
- For affordable curtains: check Amazon’s linen-look offerings. Search linen+blend+curtains+96+inch.
- For no-drill rods: look for heavy-duty tension systems. Search heavy+duty+tension+curtain+rod+6-10+ft.
- Splurge where it lasts: rugs. See hand+woven+jute+rug+8×10 for options.
- Faux plants that read real: search realistic+artificial+olive+tree+4+ft.
Start with one element—the rug or the divider rod. I swapped curtains after my first try and it changed the whole room again. Which element will you change first?