My tiny living room felt chopped up and dark until I tried a two sided bookcase room divider the wrong way. I picked a tall, bulky unit, shoved it center room, and the apartment shrank. I spent $220 swapping to a lower, open-shelf divider and styling both faces. Now the space reads as two zones that still feel connected.
This guide is for modern eclectic small living rooms. Budget: $200–$600 depending on how many swaps you make. Works for studio apartments, narrow living rooms, or open-plan spaces. The current trend is functional dividing pieces that double as storage and styling — think open shelves, woven baskets, and layered lighting.
What You'll Need for This Look
Foundation pieces:
- 8×10 jute area rug in natural (~$120-180)
- Linen curtains in white, 96-inch length (~$35-50 per panel, need 2-4)
Two-sided divider & storage:
- Two-sided bookcase room divider, white, 60-inch (~$120-300)
- Artificial olive tree in cement pot, 4 ft (~$70-110)
Textiles & layers:
- Chunky cable knit throw in oatmeal (~$40-60)
- Euro pillow inserts, 26×26, set of 2 (~$35-50)
Lighting:
- Table lamp with linen shade (~$45-70)
- Rattan pendant light, 15-inch diameter (~$60-90)
Finishing touches:
- Woven storage baskets, set of 3 (~$35-55)
- Small ceramic vase, matte white (~$15-25)
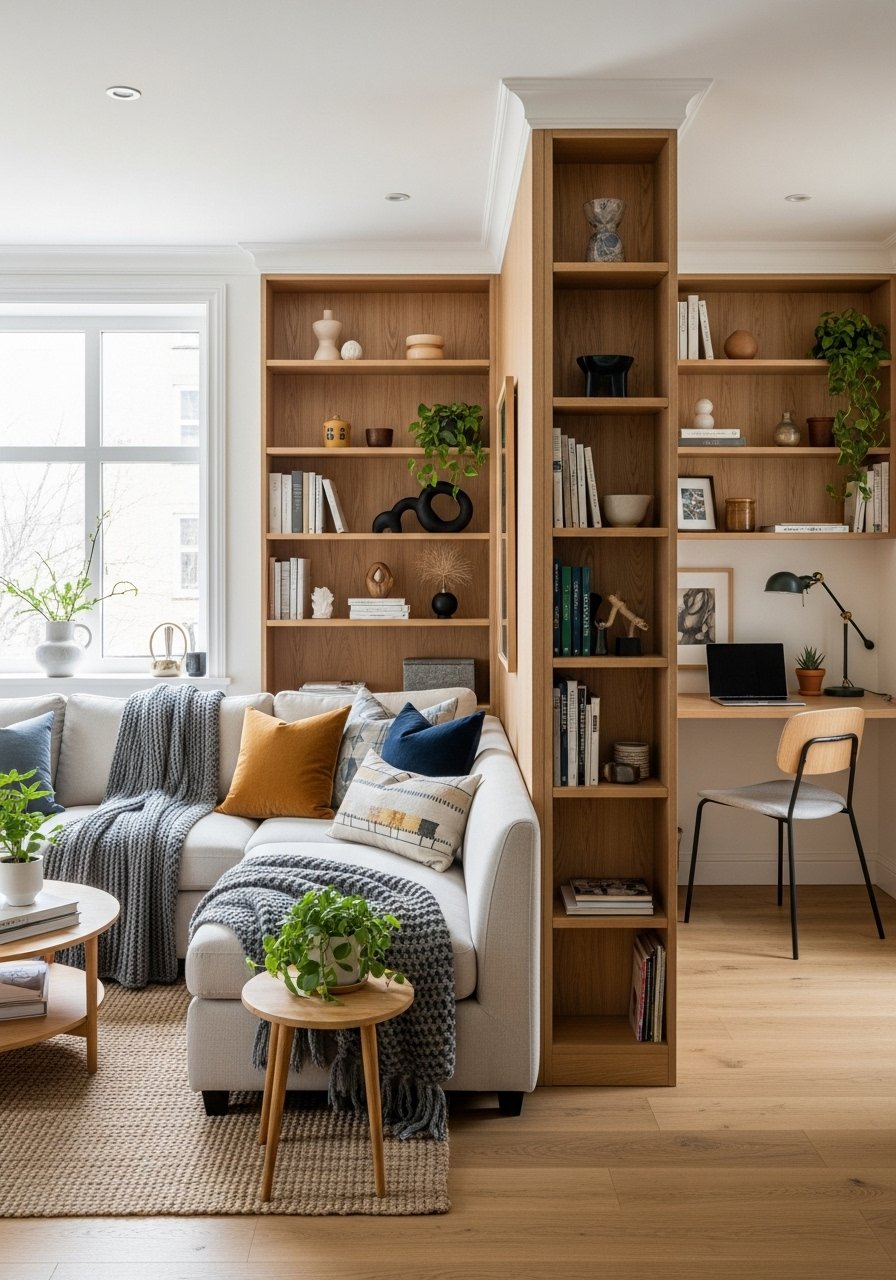
Place the divider for flow and preserved sightlines
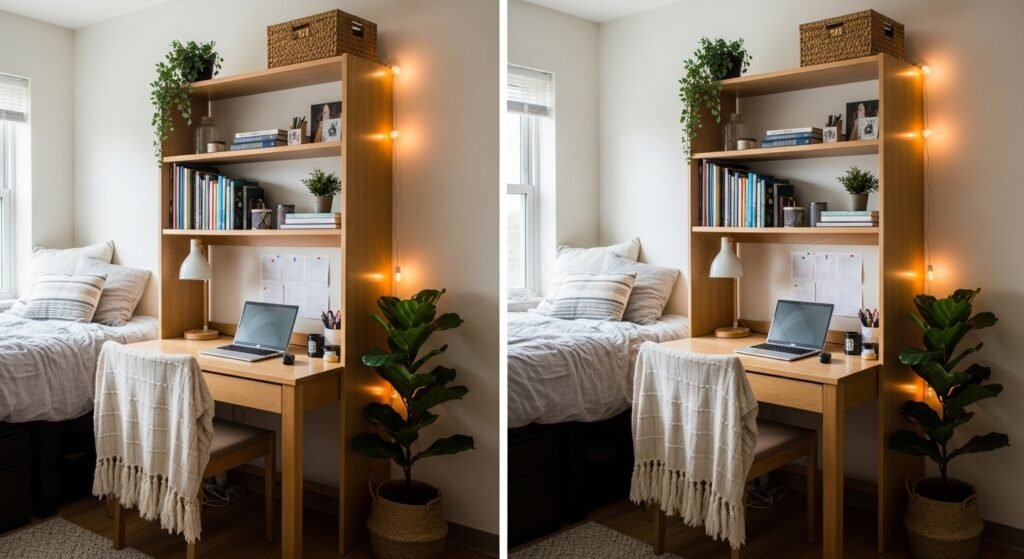
Start with placement before you buy. I measured and left a 2.5–3 foot walkway on the busiest side. I chose a 60-inch-wide, 60-inch-tall white bookcase room divider so it reads open but gives storage. Place the divider so light still reaches the back zone. If your window is on one side, offset the unit slightly toward the darker side to keep the bright zone open.
Visual rule: keep 1/3–2/3 proportion. If your living area is 9 feet deep, a 60-inch divider gives you a comfortable front seating zone and a narrower back area for a desk or reading nook. I used this two-sided bookcase because the open cubbies let light through. Common mistake: blocking a major sightline. That’s what I did at first. I moved it and the room breathed.
Style both faces for balance and function
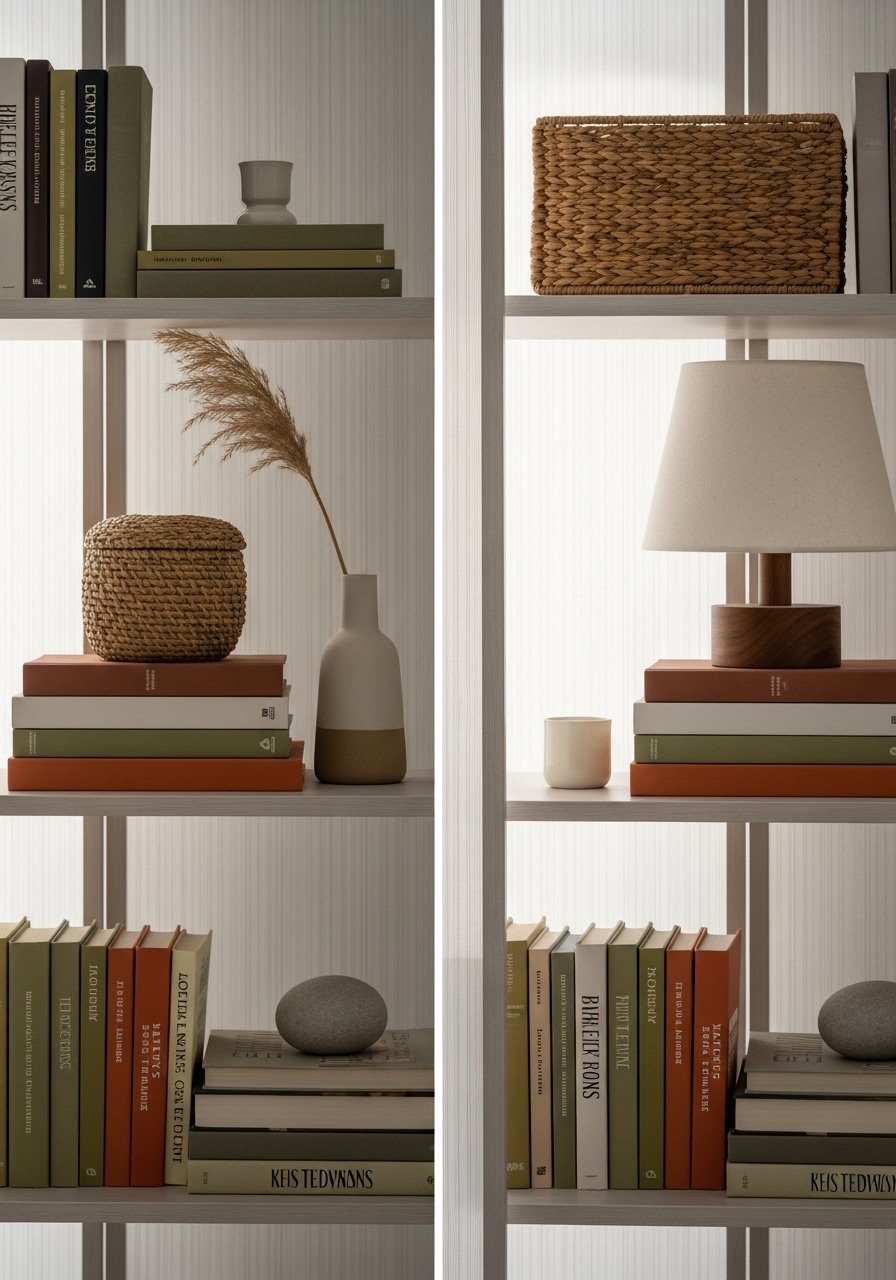
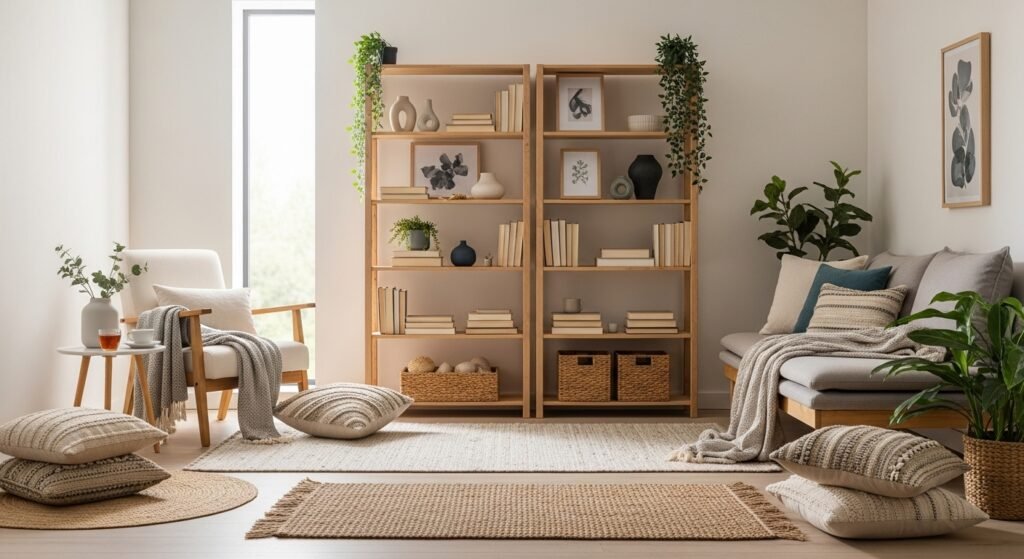
Styling both faces prevents the divider from looking like bulk. On the living-room side, keep open display: art, a few books, and a matte white vase. On the back side, favor function: woven baskets for concealed storage and a couple of file boxes. I follow the odd-number rule — group items in threes. Mix horizontal stacks with vertical rows. Use scale to your favor: tall items (a 12–14-inch lamp or plant) on one shelf, low stacks on the next.
I made a styling mistake early on by mirroring both sides exactly. It read staged. The fix was intentional asymmetry: different materials and two height anchors. I used woven baskets on lower shelves for closed storage and a small lamp on a mid shelf for warmth.
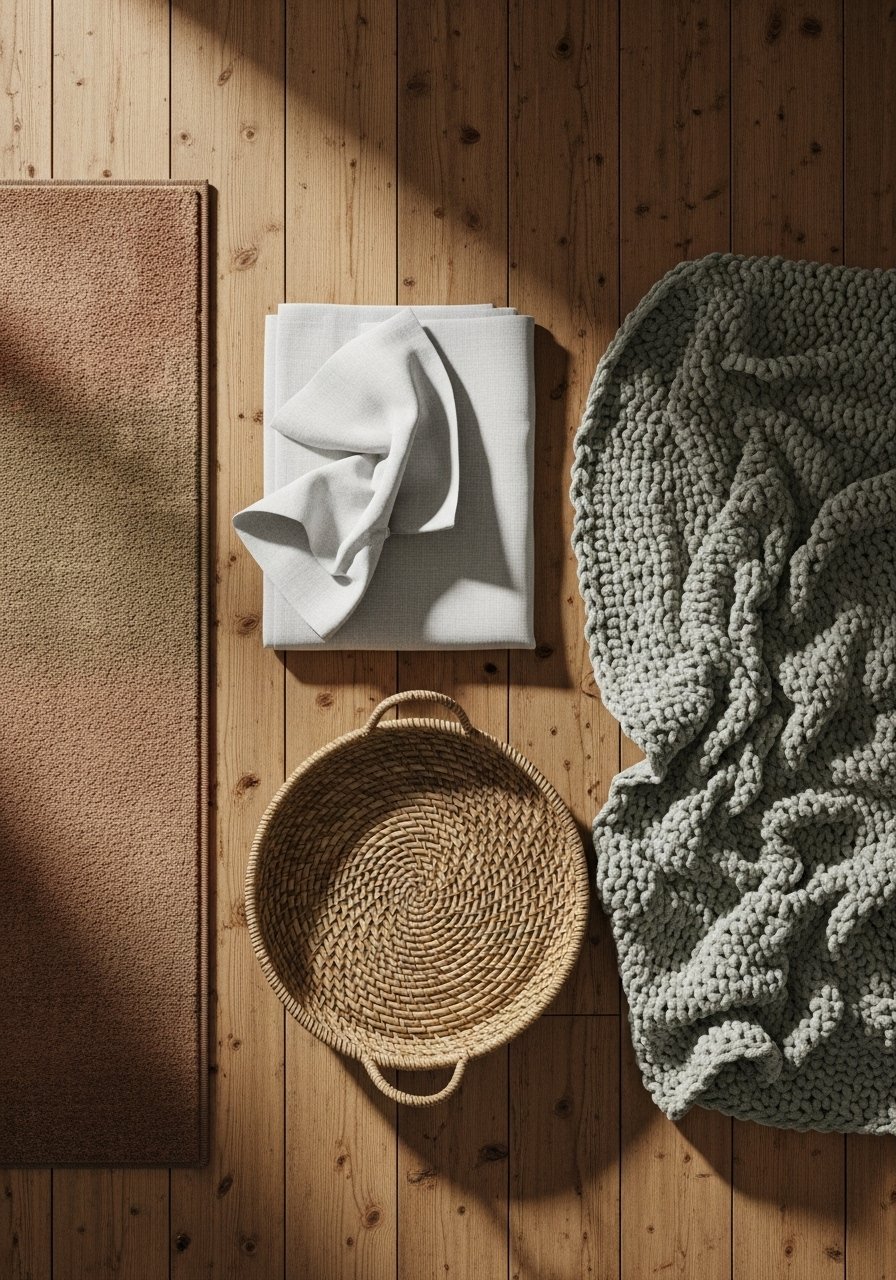
Anchor zones with rugs, curtains, and layered lighting
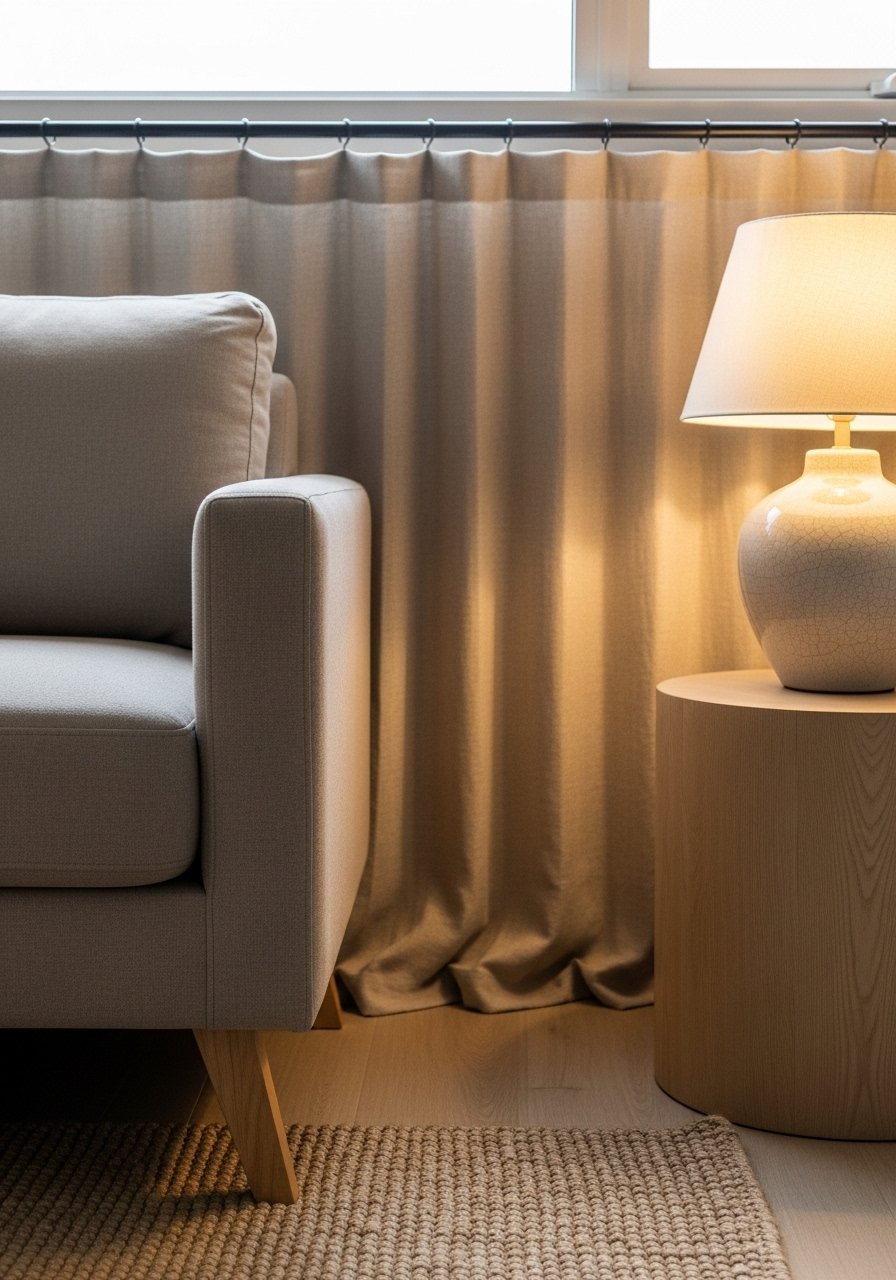
A room divider needs anchors on both sides. I place an 8×10 jute rug so the front legs of my sofa and accent chair sit on it. This creates a visual seating zone. Hang linen curtains six inches above the window frame to draw the eye up and keep the divider from feeling like a ceiling drop. Add layered lighting: a rattan pendant for overhead texture and a table lamp with linen shade on a shelf or console to spill light through the divider cubbies. Bulb tip: 2700K warm light reads welcoming.
Common Styling Mistakes to Avoid
Mistake: Choosing a divider that’s too tall for the room
Why it doesn't work: It chops vertical space and feels oppressive.
Do this instead: Pick a divider no taller than 2/3 of wall height. Try this 60-inch option.
Mistake: Styling one face only
Why it doesn't work: The divider looks like a wall mid-room.
Do this instead: Mix display and closed storage. Woven baskets set hide clutter.
Mistake: Letting the rug float too small
Why it doesn't work: Zones feel disconnected.
Do this instead: Use an 8×10 rug with front legs on it. 8×10 jute rug
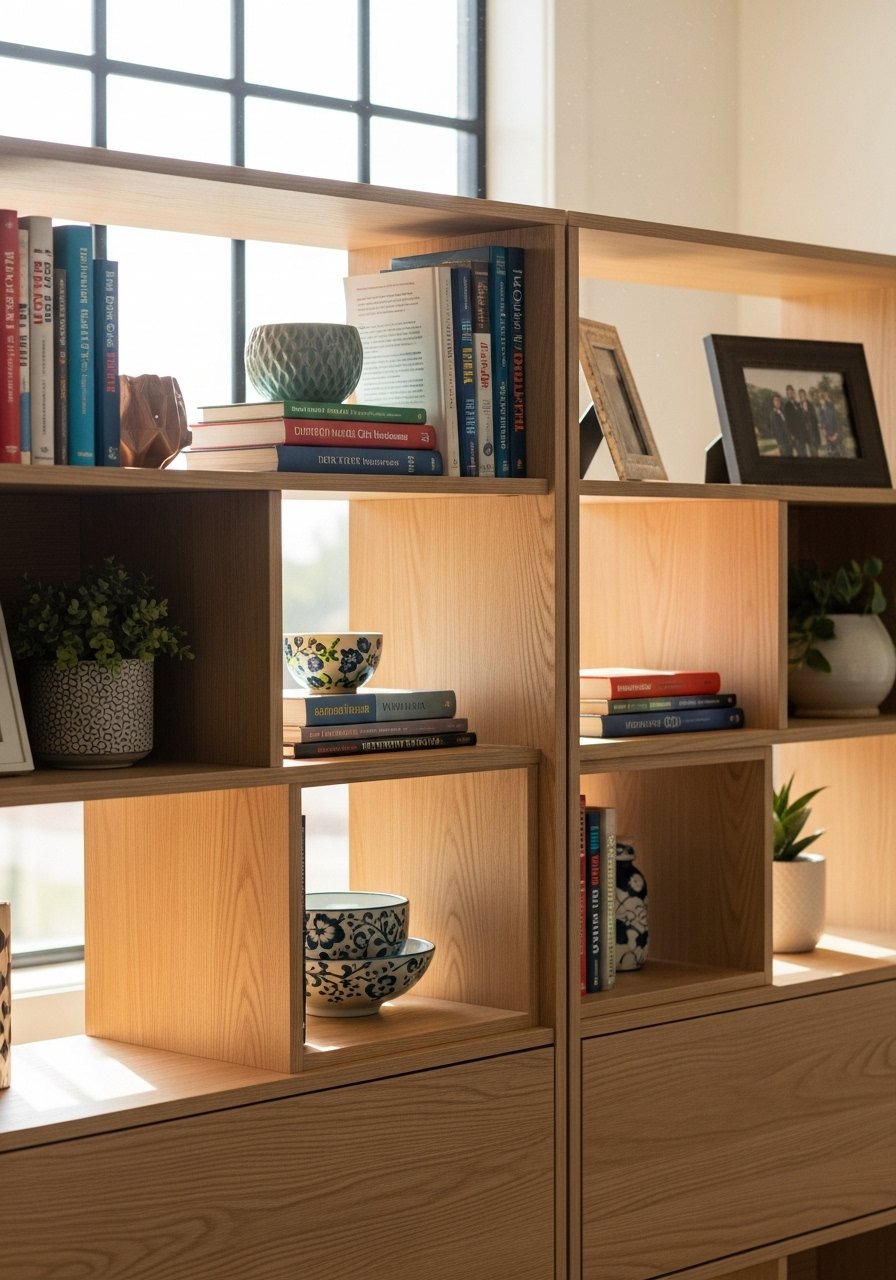
Mistake: Blocking light with solid backs
Why it doesn't work: Back areas turn gloomy.
Do this instead: Choose open-backed or low-backed units so light passes through.
Shopping Guide: Where to Find These Items
- For affordable dividers, check Amazon search for two-sided options. The IKEA KALLAX is a frequent inspiration but Amazon has open-backed alternatives. Search: two sided bookcase room divider.
- Splurge where it matters: a durable rug lasts years. I bought a hand-feel jute for the high-traffic front zone. Search: 8×10 jute area rug natural.
- For realistic green texture, choose a taller faux that fills a corner. Search: artificial olive tree cement pot 4 ft.
- Curtains: linen-look if you’re on a budget. Search: linen curtains white 96 inch.
I learned to start with placement, not aesthetics. Pick the divider to fit your layout first. Then style both faces, add a rug and layered lighting, and use baskets to hide the mess. I swapped one bulky unit for an open two-sided bookshelf and the room regained light and calm. Which side of your room will you divide first?